.png?width=150&height=70&name=BWC%20Logo%20(Custom).png)
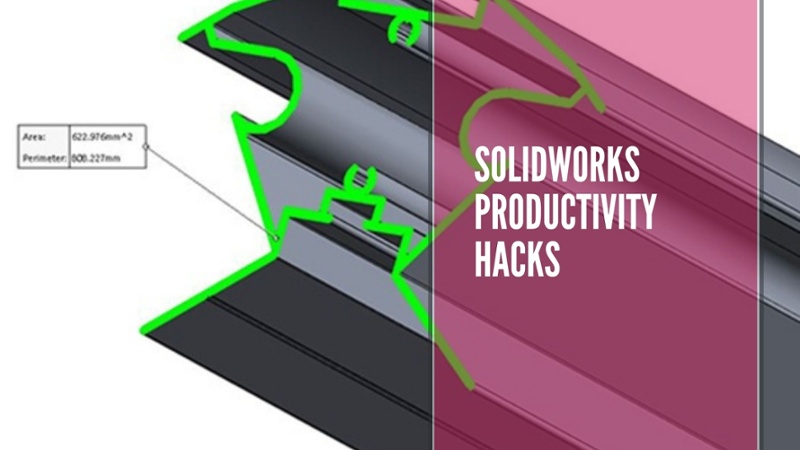
Since its release in 1995 SOLIDWORKS has been one of the industry leading pieces of software for computer aided design (CAD). It was created to allow designers and engineers to bring their product designs to life with ease and precision.
SOLIDWORKS has continued to develop over the years and has become one of the best tools to use for CAD.
Being able to use SOLIDWORKS efficiently is an incredibly useful skill to have under your belt. Not only will it help you know your way around the programme, it will also help you become more productive by customising the tool to how you work best.
Before you get stuck into these hacks, we’ve created a SOLIDWORKS cheat sheet of commands you can use to speed things up.

Getting Started
Customise Your Toolbars
Start off by customising your toolbar so you have your most frequently used tools at your fingertips.
Go to Tools → Customise, and drag/drop the commands you’d like to a location on your toolbars.
It’s as simple as that.
Mouse Gestures
You can customise what commands your mouse can do with a right-click and drag.
Navigate to tools → Customise, and select the ‘Mouse Gestures’ tab to select which commands can be actioned from the wheel.
S-Key Shortcut
The S-key can be set to produce a shortcut toolbar.
Tools → Customise
Command Search
At the top right of the screen there is a search by to search commands.
Use this to search for any command and launch them by pressing enter.
3D Mouse
If you have access to a separate 3D mouse it will make it easier to manipulate the model, you are working on.
Features & Sketches
On-Screen Numeric Input
You can speed up your sketching and add specific dimensions to lines, rectangles, circles and arcs as you create them.
To enable the feature, go to Tools → Options under the System Options tab select the Sketch area and check “Enable on screen numeric input on entity creation”.
Dimension to Outside of Arc
You can add a dimension to the outside of an arc instead of the centre point.
Hold the SHIFT Key whilst clicking on a circle or arc to quickly add dimensions to the outside.
Box Selection
You can select all entity types in parts, assemblies and drawings by dragging a selection box with the pointer.
When you select from left to right, all items within the box are selected. When you select from right to left, items crossing the box boundaries are also selected.
Click options or tools → options → selection → Box Selection
Selecting Items by Lasso
You can select items by free handing the lasso tool around the parts you would like to select.
Click options or tools → options → selection → Lasso Selection
For clockwise lasso selection, the lasso selects only items contained in the lasso loop. For counter clockwise lasso selection, the lasso selects sketch entities in the lasso loop and items that cross the lasso.
Selecting Over Geometry
This feature is helpful when you can’t start the drag from a blank region. It makes it easier to exclude items you don’t want to be selected.
Without Select over Geometry, if you start the drag on top of geometry, the drag fails and the geometry under your initial click is selected:
Click options or tools → options → selection → Select over Geometry:
- Drag a box or lass to clear current selection and select different items
- SHIFT + drag a box or lass to add items to selection
Auto-transition to Arc
Use the ‘a’ key to quickly switch from line to tangent arc command.
Virtual Sharp Creation
You can multi-select two sketch entities and pick the ‘point’ command on the sketch toolbar to create a virtual sharp at the intersection.
Contour Selection
The contour selection window allows you to select a single piece of your sketch to extrude, cut, etc.
Offset Plane
Create an offset plane quickly by holding CTRL + dragging a corner point of plane.
RMB to accept commands
Accept commands by clicking the right mouse button and selecting the accept icon.
View, Rotation & Orientation
Arrow keys can be used to your model on screen:
To rotate in 90-degree increments;
Hold SHIFT + arrow keys
Hold ALT + arrow key to rotate in-plane
Use Triad to align/position your model on screen:
Select triad in the bottom left corner then select an axis;
Hold SHIFT + Click an axis to rotate 90 degrees around that axis
Hold ALT + Click an axis to rotate in 15-degree increments
Middle Mouse button shortcuts
Zoom to Fit;
Double-click middle button
Roll around an edge
Click on middle mouse button + drag on a model edge to rotate about it
Rotate around Scene Floor
Right mouse click in space and select to enable
Undo Last View Change
CTRL + SHIFT + Z
View Orientations
The spacebar can be used to create and save custom view orientations
Assembly Tips
Smart Mates
To quickly mate an entity;
Hold ALT + drag
Rotate a part in place
Right click and drag
Select through transparent parts
System options → Display/Selection
To select the transparent part;
Hold SHIFT
Quickly hide parts
Hold the TAB key, and hover over the part you’d like to hide.
Show the part by using SHIFT + TAB and hovering over where the hidden part would be.
Shortcuts for Advanced Mates:
Multiple-select 3 faces, then hit the Mate command automatically invokes a Symmetry Mate
Multiple-select 4 faces, then hit the Mate command automatically invokes a Width Mate
Drawings
Disable Sketch Relations
Hold the CTRL key to avoid creating snaps/relations in a drawing
Break View Alignment on placement of view
Hold CTRL key before clicking to place
Move/copy dimensions across views
Use SHIFT + drag a dimension to move to from one view to another
Use CTRL + drag a dimension to copy it to another view
Add another leader to note
CTRL + drag on an existing leader to create another leader
Angle dimension shortcut
Select a line, and an endpoint of that same line. Use the quadrant selections for angle
Dimension WITHOUT creating virtual sharp
While dimensioning, right-click an entity and select ‘find intersection’.
Select a second entity to dimension to the virtual sharp.
Download our SOLIDWORKS cheat sheet
We’ve put together a cheat sheet of SOLIDWORKS commands to help you whizz around the programme.
Download it here;